The presence of glass doors transforms a simple transfer bench purchase into a complex system integration challenge, where incorrect choices can create new hazards.
- Standard transfer benches often conflict with the tracks of sliding glass doors, making them unusable.
- Proper safety relies on understanding the “dynamic clearance” for movement, not just the bench’s static footprint.
Recommendation: Prioritize a holistic assessment of the bench’s interface with the user, the tub’s specific design, and the overall bathroom layout before making a purchase.
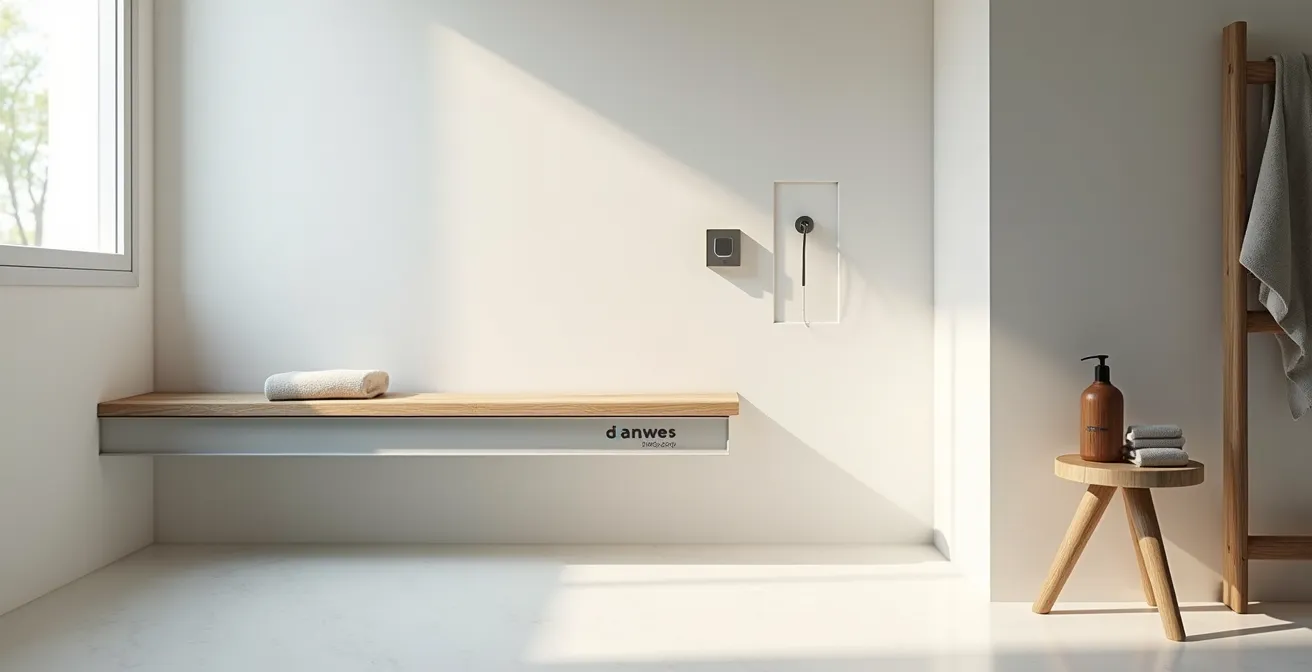
For many seniors, ensuring bathroom independence is paramount. The modern bathroom, however, with its sleek glass enclosures and non-standard tubs, often presents unforeseen obstacles to safety. While a shower chair can offer stability inside the tub, it doesn’t solve the primary challenge: safely getting over the high tub wall. A transfer bench is the logical solution, designed to bridge that gap. But when a glass door is involved, the decision becomes far more complex than simply picking a model from a catalog. The bench is no longer a standalone accessory; it’s a component that must integrate perfectly with an existing, often unforgiving, structure.
Many guides offer generic advice, but they fail to address the critical interface between the bench, the user’s specific physical needs, the tub’s architecture, and the surrounding environment. This failure leads to common mistakes: benches that don’t fit, installations that damage the tub, and solutions that inadvertently create new water hazards or fall risks. True bathroom safety isn’t about just *having* the equipment; it’s about mastering this complete system. This guide moves beyond the basics to provide expert, problem-solving strategies for selecting and implementing a transfer bench in the real-world context of a bathroom with glass doors, ensuring the solution enhances independence rather than complicating it.
This article breaks down the critical considerations, from understanding the fundamental risks to managing the practical details of installation and daily use. Below is a summary of the key areas we will explore to help you create a truly safe and functional bathing environment.
Summary: A Systematic Approach to Bathroom Safety
- Why Stepping Over the Tub Wall Is the #1 Fall Hazard in Bathrooms?
- How to Install a Bench Without Damaging the Tub Seal?
- Sliding Benches vs. Stationary Legs: Which Is Easier for Hip Pain?
- The Mistake of Measuring the Bathroom Clearance Incorrectly
- How to Manage Water Curtain Leaks With a Transfer Bench?
- Comfort Height Toilets vs. Risers: Which Is More Stable?
- How to Manage the Transition When a Parent Refuses Hygiene Help?
- How to Apply Anti-Slip Treatments to Tiles Without Changing the Look?
Why Stepping Over the Tub Wall Is the #1 Fall Hazard in Bathrooms?
The single most dangerous moment in many bathrooms occurs during the transition into and out of the bathtub. This action requires a complex combination of balance, strength, and coordination that can become challenging with age. The tub wall, often 14 to 20 inches high, presents a significant physical barrier. Lifting one leg high while balancing on the other, often on a potentially damp surface, creates a moment of profound instability. This is not just a theoretical risk; more than 235,000 people are injured in bathroom falls each year in the United States alone, with a large portion of these incidents related to tub or shower entry and exit.
The danger is rooted in biomechanics. The transition involves shifting your entire body weight onto one leg while simultaneously moving the other leg up and over an obstacle. The true hazard lies at the interface between the wet, low-friction surface inside the tub and the dry, higher-friction surface of the bathroom floor.

As this image highlights, the abrupt change in surface texture and the height differential demand precise motor control. A slight misjudgment, a moment of dizziness, or reduced leg strength can easily lead to a catastrophic fall. A transfer bench eliminates this high-step motion entirely, replacing a risky dynamic action with a series of safer, seated movements. It allows an individual to sit down securely outside the tub, swing their legs over the wall without bearing weight, and slide into a safe bathing position.
How to Install a Bench Without Damaging the Tub Seal?
Once you’ve chosen a transfer bench, the next challenge is installing it correctly—a process that is especially critical in bathrooms with glass enclosures and carefully sealed tubs. An improper installation can not only render the bench unstable but also compromise the waterproof seal around your tub, leading to leaks and potential water damage. The primary concern is the pressure exerted by the bench legs that sit inside the tub. Before placing the bench, you must inspect the existing tub seal for any signs of brittleness, gaps, or mold. Placing weight on a compromised seal will only worsen the problem.
To distribute the load and protect the tub’s surface, place thin, firm, non-slip rubber pads under the bench legs inside the tub. A crucial step is ensuring the bench is perfectly level. Remember that the tub floor may be 2-3 inches higher than the main bathroom floor, so adjustable legs are essential. Once leveled, press down firmly on the bench to engage any suction cup tips, creating a stable connection. Always check the manufacturer’s specified weight capacity and test the bench’s stability by pushing on it from multiple angles before its first use. It should not wobble, slide, or tilt.
For tubs with glass doors, a tub-mounted or clamp-on bench can be a superior alternative, as it avoids contact with the tub floor altogether.
| Feature | Traditional Transfer Bench | Tub-Mounted (Clamp-on) Bench |
|---|---|---|
| Contact with tub floor | Yes – requires legs inside tub | No – clamps to tub edge only |
| Risk to tub seal | Moderate – pressure on seal | Minimal – no floor contact |
| Suitable tub types | Most standard tubs | Tubs with flat top edge |
| Weight distribution | Through 4 legs | Through clamp mechanism |
| Installation complexity | Simple – adjust legs | Moderate – precise clamping |
While clamp-on models require a flat tub edge for secure mounting, they completely eliminate pressure on the tub floor and its delicate seal, making them an excellent choice for preserving the integrity of your bathroom.
Sliding Benches vs. Stationary Legs: Which Is Easier for Hip Pain?
For individuals recovering from hip replacement surgery or managing chronic hip pain, the choice of transfer bench is not just about convenience—it’s about clinical safety. Post-surgery, patients are often required to follow strict movement precautions to prevent dislocation of the new joint. The most critical of these is the “90-degree rule,” which dictates that patients must maintain hip flexion below 90 degrees for up to 12 weeks. This means avoiding deep bending at the hip, a motion that is easily and inadvertently performed when scooting across a standard, stationary transfer bench.
A stationary bench requires the user to lift and shift their body weight across the seat, which can cause friction, skin shear, and—most dangerously—a breach of the 90-degree rule. A sliding transfer bench is the superior solution in this context. These models feature a seat that glides on rails, allowing the user to sit, lock the seat in place, and then smoothly slide over the tub wall with minimal effort and no scooting. This controlled, linear motion helps maintain proper hip alignment throughout the transfer. For added safety, many sliding benches also feature a swivel seat, which further reduces the need to twist the torso or hips.
The ability to recline is also a key feature to look for. As the EquipMeOT medical team advises in their guide to showering after hip surgery, this feature is essential for maintaining safe posture.
A recline is necessary to ensure you stay at 90 degrees of hip flexion or greater throughout the transfer and bathing process.
– EquipMeOT Medical Team, Showering After Hip Replacement Guide
This recline function, combined with the smooth sliding action, provides the highest level of biomechanical safety for anyone with hip precautions, making the transfer process both secure and comfortable.
The Mistake of Measuring the Bathroom Clearance Incorrectly
One of the most common and frustrating mistakes when selecting a transfer bench is focusing only on the dimensions of the bathtub. A bench that fits perfectly over the tub wall is useless if it blocks the bathroom door, prevents a walker from approaching, or makes accessing the toilet impossible. This is why it’s essential to adopt the concept of “dynamic clearance”—measuring the space needed for movement, not just the static footprint of the equipment.
Before purchasing, consider the entire sequence of actions a person will take. Where will they approach the bench from? If they use a walker or wheelchair, is there enough room to maneuver it into position? When they sit on the bench, where will their legs swing as they lift them over the tub wall? This arc of movement often requires far more space than anticipated. Furthermore, the bench’s legs extending outside the tub can create a new trip hazard if placed in a high-traffic path. It’s also critical to measure the height of the bottom track of your sliding glass door; a bench that is too low will not clear this track, making it impossible to install.
This is a well-documented issue. In one online discussion about bathroom modifications, a user found that their plan was unworkable due to this exact oversight.
Case Study: The Glass Door Conflict
Users in a forum on accessibility modifications reported that longer transfer benches, which are typically needed to safely traverse the tub wall, simply do not work with most sliding glass doors. The bench’s frame conflicts with the door’s track system. One successful solution involved removing the sliding doors entirely and replacing them with a shower curtain, which then allowed for the installation of a wide, stable transfer bench and necessary grab bars.
This example underscores the need for a comprehensive measurement plan that accounts for all interacting elements in the bathroom.
Your Action Plan: Dynamic Space Measurement Checklist
- Measure the arc of movement required for legs to swing over the tub wall, not just the bench’s footprint.
- Check for adequate clearance for walker or wheelchair approach and parking paths.
- Verify that the height of the bench seat and frame will clear the bottom track of any glass doors.
- Test the main bathroom door’s swing clearance to ensure it can open and close fully with the bench in place.
- Ensure that vanity cabinet doors and drawers can open without being obstructed by the bench.
How to Manage Water Curtain Leaks With a Transfer Bench?
While a transfer bench solves the primary fall risk of stepping over the tub wall, it introduces a new, persistent problem: water containment. A standard shower curtain is designed to hang inside the tub, but a transfer bench straddles the tub edge, creating a large gap that allows water to splash onto the bathroom floor. This not only creates a messy cleanup but also introduces a dangerous slip hazard, undermining the very safety the bench was meant to provide. Fortunately, there are several effective and low-cost techniques to manage this issue.
The most common DIY solution involves modifying a standard plastic shower curtain liner. As one user on an occupational therapy forum practically suggests, the fix can be straightforward.
A simple pair of scissors will work to cut slits into both sides of a plastic shower curtain, allowing you to slide the cut section down between the bench section extending out of the shower.
By cutting two vertical slits in the curtain where the bench crosses the tub edge, you can tuck the majority of the curtain inside the tub while the small, cut-out section wraps around the bench. For even better control, some benches have a crease or channel in their outer frame specifically designed to hold a curtain in place. Other effective strategies include:
- Installing a flexible silicone water dam on the bench seat itself to channel water back into the tub.
- Using a handheld showerhead and consciously keeping the water stream below shoulder level.
- Aiming the water spray directly at your body, not at the walls, to minimize overspray.
- Considering specialized split shower curtains that use magnets or weights to create a seal around the bench.
Combining these methods provides a robust defense against leaks, keeping the bathroom floor dry and safe.
Comfort Height Toilets vs. Risers: Which Is More Stable?
The principle of creating a safe, integrated bathroom system extends beyond the bathtub. The toilet is another site of frequent transfers where stability is critical. For those who find standard-height toilets too low and difficult to stand up from, two primary solutions exist: a toilet riser (or raised toilet seat) and a full “comfort height” toilet. While a riser may seem like a quick and inexpensive fix, it often introduces significant stability and hygiene issues. A comfort height toilet, which is a permanent, floor-bolted fixture, is the far superior option for long-term safety.
A toilet riser is an add-on device that clamps onto the existing toilet bowl. Its stability is entirely dependent on the strength and tightness of these clamps, which can loosen over time, causing the seat to shift during a transfer—a highly dangerous event. In contrast, a comfort height toilet is a single, solid unit bolted directly to the floor. Its stability is inherent to its design. A comprehensive comparison from healthcare provider Banner Health highlights the key differences.
| Feature | Comfort Height Toilet | Toilet Riser |
|---|---|---|
| Stability Type | Inherent – floor-bolted unit | Dependent – relies on clamping |
| Risk of Failure | Very low | Moderate – clamping can loosen |
| Transfer Space | Clear for grab bars | May block wheelchair transfers |
| Cleaning Difficulty | Easy – one-piece design | Difficult – seams trap bacteria |
| Long-term Hygiene | Excellent | Poor – crevices harbor germs |
Beyond stability, hygiene is a major concern with risers. The seams and crevices between the riser and the toilet bowl are difficult to clean and can trap bacteria. A comfort height toilet, with its one-piece design, eliminates this problem. While the initial investment is higher, the profound increase in stability, safety, and hygiene makes a comfort height toilet the recommended choice for a permanent bathroom modification.
How to Manage the Transition When a Parent Refuses Hygiene Help?
The most thoughtfully selected piece of safety equipment is useless if the person it’s meant for refuses to use it. This resistance is rarely about the equipment itself; it’s about what it symbolizes—a loss of independence and an admission of frailty. Overcoming this emotional barrier requires empathy and a strategic shift in communication. The key is to reframe the conversation away from “help” and towards “empowerment.”
Instead of presenting a transfer bench as a tool for someone who is “failing,” position it as a smart upgrade that guarantees privacy and extends their ability to manage their own hygiene independently for longer. This approach focuses on positive outcomes—dignity, autonomy, and control—rather than negative concerns about safety. As occupational therapist Dr. Archie suggests, the language you use is critical.
Frame it as a ‘smart bathroom upgrade’ or a ‘tool to guarantee your privacy and independence for longer’ rather than help for someone who is failing.
– Dr. Archie, OTD, AskSAMIE Occupational Therapy Guide
Several strategies can help facilitate acceptance and make the transition smoother:
- Propose a no-commitment trial period: Suggest trying the equipment for two weeks with the option to return it if they don’t like it. This lowers the perceived permanence and pressure.
- Involve a trusted third party: A recommendation from a doctor, physical therapist, or even a respected friend can carry more weight and feel less personal.
- Emphasize privacy benefits: Highlight that using the bench means they will need less (or no) hands-on assistance from a caregiver during bathing.
- Focus on energy conservation: Frame the bench as a tool that saves energy, which can then be used for more enjoyable activities, rather than focusing solely on fall prevention.
By shifting the narrative from disability to ability, you empower your loved one to see the equipment as a tool for maintaining their cherished independence.
Key takeaways
- The primary function of a transfer bench is to eliminate the dangerous high-step motion over a tub wall.
- “Dynamic clearance” is essential; measure for movement (swinging legs, walker access), not just the bench’s static size.
- For post-hip surgery safety, a sliding bench with a recline feature is clinically superior to a stationary one.
How to Apply Anti-Slip Treatments to Tiles Without Changing the Look?
A safe bathroom system is only as strong as its weakest link. Even with the perfect transfer bench and grab bars, a slippery tile floor remains a significant hazard. Many people hesitate to apply anti-slip treatments for fear of altering the appearance of their bathroom with unsightly adhesive strips or mats. However, modern solutions exist that can dramatically increase the friction of wet tiles without changing their look or feel when dry.
The most effective of these are clear, liquid micro-etching treatments. These are not coatings or films; they are chemical solutions that work by creating microscopic treads on the surface of mineral-based tiles like ceramic and porcelain. As described in an analysis of invisible anti-slip treatments, this process subtly alters the surface structure to improve grip. When the tile is wet, these microscopic treads channel water away from underfoot, dramatically increasing the coefficient of friction and preventing hydroplaning. When the floor is dry, the treatment is completely invisible and cannot be felt.
It is crucial, however, to ensure the treatment is compatible with your specific flooring material. These micro-etching treatments are ideal for ceramic and porcelain tiles. They can also work on some natural stone surfaces like granite or slate, but it is imperative to test the product on a spare tile or in an inconspicuous area first. They are not recommended for vinyl, fiberglass, or acrylic surfaces, as the chemical reaction can cause damage. For these synthetic materials, high-quality, low-profile adhesive treads or a full-coverage mat are the better options. Applying these treatments provides a foundational layer of safety that complements all other equipment in the room.
By taking a systematic approach and considering how each element interacts, you can transform your bathroom from a source of anxiety into a space that truly supports long-term independence and well-being. To put these concepts into practice, the next logical step is to conduct a holistic evaluation of your own bathroom’s unique layout and needs.